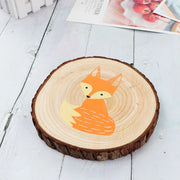
Heat transfer paper can work wonders on wood, turning it into a canvas for creativity. In this article, we'll explore the basics of using heat transfer paper on wood, starting with the necessity of heat transfer paper and the printers suitable for creating wood patterns. Moreover, this article will provide detailed instructions about the processes to help you create your projects. Let's get started on your journey to crafting beautiful wooden designs!
Table of Contents:
Part 1: Necessity of heat transfer paper and the right printer.
Part 2: What do you need for a heat transfer paper project?
Part 3: How to use heat transfer paper on wood?
Part 4: Summary
Part 1: Quick Q&A
Before we start getting our hands on the projects, there are some basic knowledge you should be aware of. The questions below can help you to clarify the process, troubleshoot any potential issues, and make informed decisions.
Can I transfer any paper on wood?
No, you cannot heat transfer just any paper onto wood. Heat transfer paper specifically designed for heat transfer applications is required. Regular printer paper won't work possibliy because they lack the special coatings necessary for the transfer process. Heat transfer paper has a coating that allows the ink to adhere to the wood when heat is applied, resulting in a vibrant and durable image transfer. Using the wrong type of paper can lead to a poor-quality transfer or no transfer.
What printer can I use to print patterns for heat transfer paper?
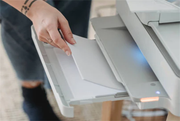
In most cases, you can only use laser or inkjet printers, which are the most common printers on the market. These printers are designed with higher resolutions and color capabilities, making them suitable for creating detailed and vibrant images required for heat transfer applications. The inks and toners these printers use adhere effectively to heat transfer paper, including surfaces like wood. However, it's always a good practice to check the manufacturer's guidelines for compatibility with heat transfer paper to ensure the best results in your wood heat transfer projects.
Since you have solved all the theoretical problems, it is time to put your creative idea into reality!
Part 2: All you will need
Let’s start by preparing the necessary tools, materials, and machines.
List of All you will need:
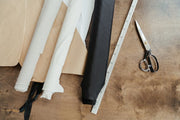
Scissors or craft knife
Piece of wood
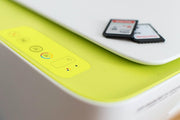
Laser or inkjet printers
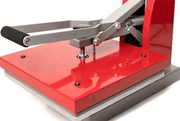
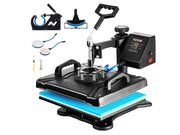
Heat press or household iron
Heat Transfer Tape
Gloves
Part 3: Step by Step Instructions
Step 1. Prepare Your Image:
Select the image or design you want. Adjust the image size and orientation as needed using graphic design software.
Step 2. Print and Cut Your Image:
Load the heat transfer paper into the printer and print your image out. Ensure it's mirrored or flipped horizontally if your design includes text or needs to be reversed for the final appearance.
Step 3. Cut Your Image:
Cut out the printed image with scissors or craft knife, leaving a small margin if necessary.
Step 4. Preheat Your Heat Press or Iron:
A. If you're using a heat press, set it to the recommended temperature, referring to the paper's instructions.
B. If you're using a household iron, set it to the appropriate temperature (usually the cotton setting) without steam.
Step 5. Prepare the Wood Surface:
Ensure the piece of wood is clean and smooth. Sand it if necessary.
Step 6. Position Your Image:
Place the cut-out image face down onto the wood in the desired location.
Step 7. Cover with Heat Transfer Tape:
Use heat transfer tape to secure the image in place on the wood. Make sure it's smooth and tightly adhered.
Step 8. Apply Heat:
A. If using a heat press, carefully place the wood with the attached image onto the heat press bed.
B. If using an iron, place a piece of parchment paper over the image to protect it and then apply the heated iron to the transfer tape. Apply even, firm pressure for the recommended duration (usually 20-30 seconds).
Step 9. Let It Cool:
Allow the wood and the transfer to cool completely. This usually takes a few minutes.
Step 10. Remove Transfer Tape:
Carefully peel off the heat transfer tape.
Step 11. Wear Gloves:
When handling the heated surfaces and applying finishing touches, wearing gloves to protect your hands is a good idea.
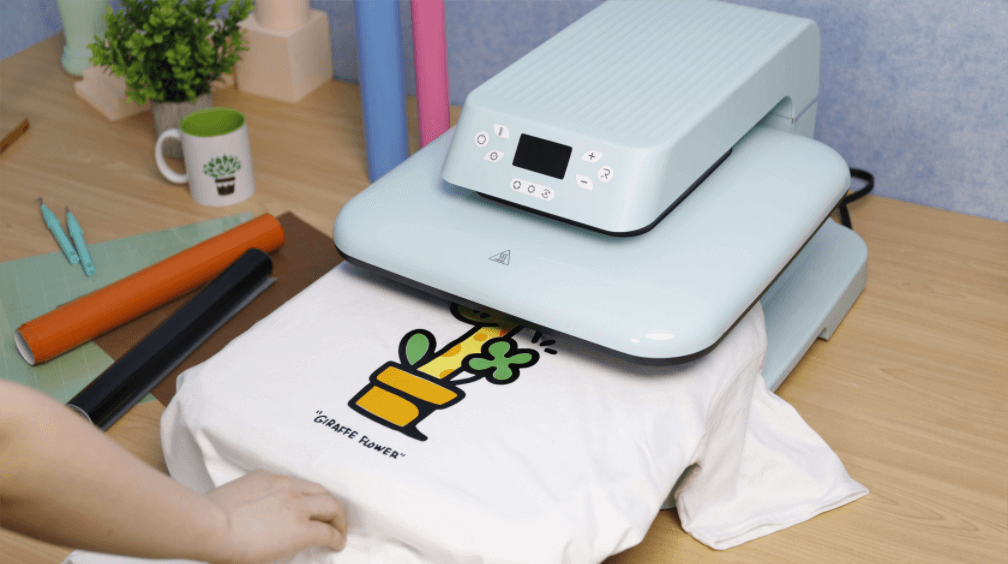
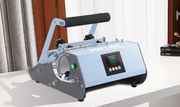
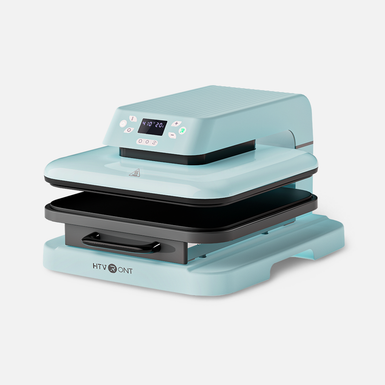
Free Your Hands with HTVRONT Auto Heat Press
- Heat up to 320℉ /160℃ within 4 mins, saving 2minutes than common type.
- Upt to 4 fast modes, 2 custom modes and an auto mode for your creativities.
- Separated ironing board and auto shut-down design for your safety.
Part 4: Summary
This article introduced the exciting world of using heat transfer paper on wood. We learned why special paper and certain printers are needed. The step-by-step guide provided clear instructions and a list of required tools and materials. Now, you're all set to transform plain wood into a canvas for your creative ideas. Get ready to craft beautiful designs confidently, and let your imagination take the lead. Happy crafting!





















































![[Starter Kit] Auto Heat Press Machine 15" x 15" 110V + Starter Kit Bundle](http://www.htvront.com/cdn/shop/files/20240425-170634_385x.jpg?v=1714036345)
![[Premium Bundle] Auto Heat Press Machine 15" x 15" 110V + 20 rolls HTV Bundle 12“x3ft + Mini 2 Heat Press Machine + Random Sublimation & HTV Bundle ≥ $180](http://www.htvront.com/cdn/shop/files/1UK_4_22c12b1b-12dd-4105-ac25-93e2faae6a8c_385x.jpg?v=1713863580)
