I've heard about the HTVRONT Easy Heat Press for a long time. Before getting one, I thought it was unnecessary because I could finish iron-on with my household iron. But the fact told me that my idea was completely off base.
Being able to do something doesn't mean being able to do it best.
I used to think that peeling vinyl after a few washes was normal until I used this HTVRONT Easy Heat Press. None of these problems, I have found, are common or inevitable.
Now, I have an HTVRONT Easy Heat Press, and my crafting has changed. After the first use, I was shocked and fell in love with this machine!
In this article, I want to share all my ideas. Some of them are questions I had in mind before owning an HTVRONT Easy Heat Press. I hope this can help you determine whether you also need one. If you already have one, you can keep reading to learn how to use your HTVRONT Easy Heat Press. Trust me, this is the only guide you'll need!
What is HTVRONT Easy Heat Press?
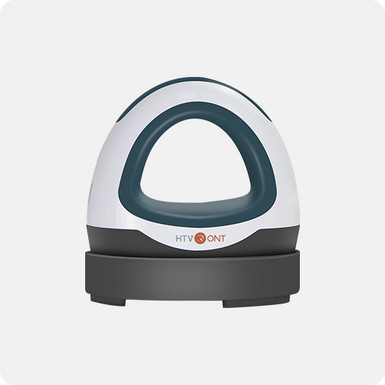
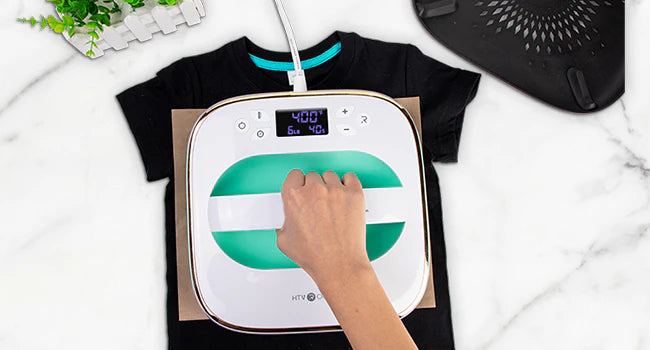
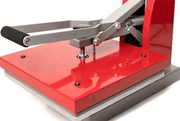
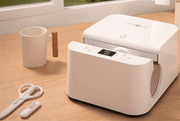
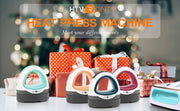
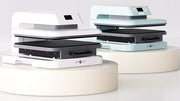
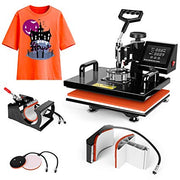
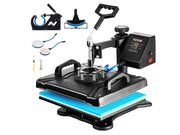
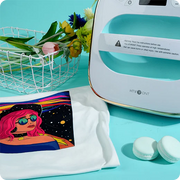
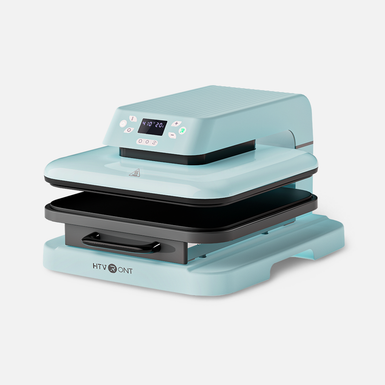
HTVRONT Easy Heat Press is a heat press that you can use to bond heat-activated vinyl to shirts, canvas bags, hats, and more. It combines the lightweight portability of a household iron and the surface of a heat press. With the friendly dual-handle design and lightweight feature, it's attractive to most craft enthusiasts, housewives and homemakers. As the industry-first heat press with pressure transducers, HTVRONT Easy Heat Press shows the specific time, temperature, and pressure value more precisely and intuitively. It can help me have the most incredible results designed and finished on my own.
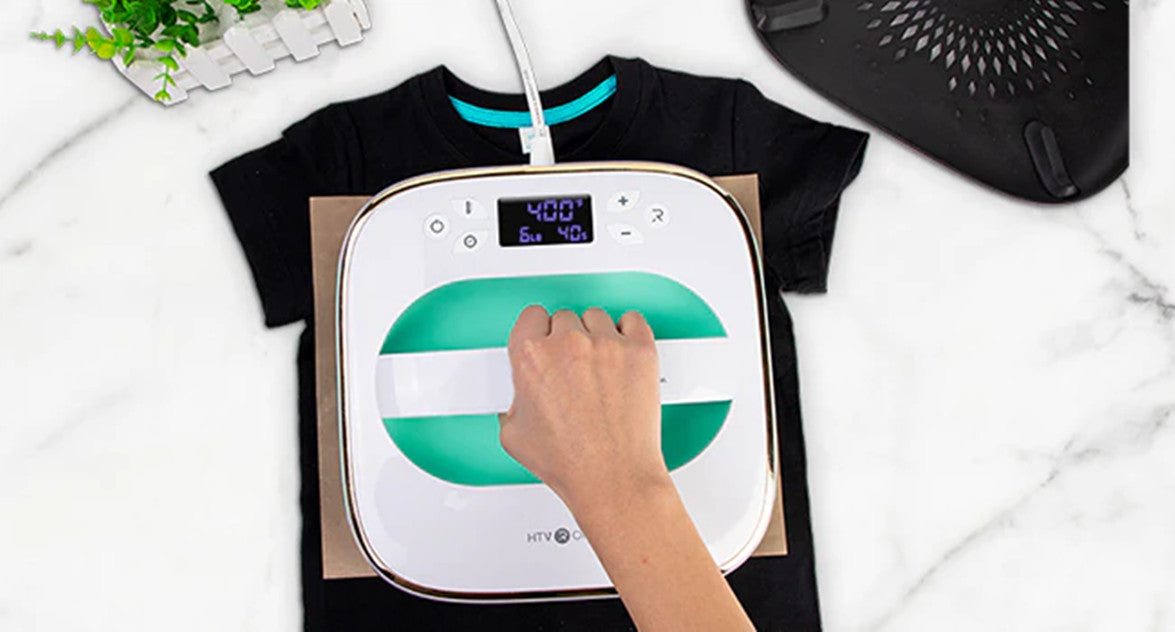
Why do I need an HTVRONT Easy Heat Press if I have an iron?
Let's be honest - if you only do one or two heat transfer or iron-on projects a year, you probably don't need a heat press machine. But if you are a craft enthusiast and do a lot of crafting, this HTVRONT Easy Heat Press will improve your quality and save you time as well. And for people in a small business of iron-on projects, I suggest you'd best need a heat press to ensure professional results for your projects.
Using a household iron to apply vinyl is inefficient because the heat is uneven. Most home irons have steam holes in the bottom, which further prevents the even distribution of heat. With a household iron, you will never know the exact temperature and pressure of the area you are pressing. That means some areas might get the required heat, and others might not. However, it will not happen with HTVRONT Easy Heat Press.
It heats quickly and evenly with the pressure display function and reaches the required safety standard. Equipped with multi-layer different thermal insulation materials, an insulated safety base, and an auto shut-off feature, it provides the highest safety performance by turning off the machine after 15 minutes of inactivity. For careless users like me, this function is too essential!
The complete guide to using the HTVRONT Easy Heat Press.
Introduction of buttons:
Power button: This button controls the power of the machine. When you turn the HTVRONT Easy Heat Press on, it will revert to the last settings used.
Temperature button: To set a temperature, press this button and use the + or – to get the right temperature according to your materials. Hold it down, and you can change between Fahrenheit and Celsius.
Timer Button: This button to set appropriate time works like the temperature button. Press down and use the + or – to change the timer.
Plus and minus buttons: These two buttons are for setting the temperature and time up or down.
Steps of using the HTVRONT Easy Heat Press
Now I’m going to share a real project using my HTVRONT Easy Heat Press. Get your design ready before starting. I used a cut file designed myself.
In order to complete a perfect project, you also need the following:
● Cotton fabric ( like a T-shirt, a bag, etc. )
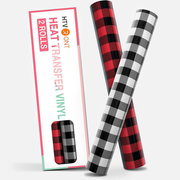
● HTVRONT Heat Transfer Vinyl
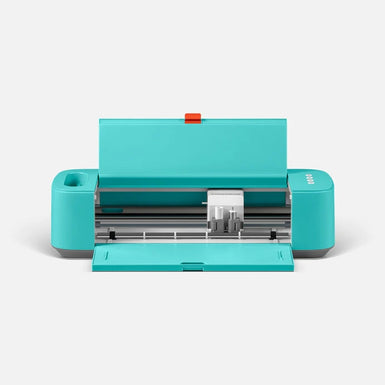
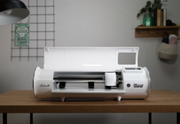
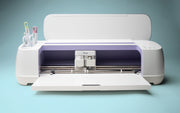
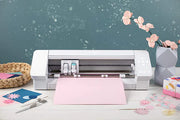
● A cutting machine ( I use the LOKLIK Crafter. )
● A cutting mat
● A heat press mat
● Teflon sheet
● Weeding tools
THE MOST IMPORTANT -- SAFETY NOTE:
1.Do not use the HTVRONT Easy Heat Press when children or pets are around.
2.NEVER touch the heating plate to avoid severe burns! It can be VERY HOT!
3.Please always remember to return it to its safety base if you’re not using it.
Step 1: Cut the design
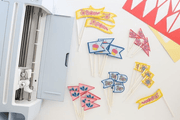
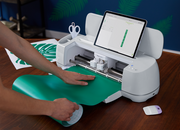
I cut my design from LoklikIdeaStudio on my LOKLIK Crafter. Make sure always to mirror your images when cutting the design. Then carefully weed out the extra vinyl using a weeding tool.
Step 2: Pre-heat your HTVRONT Easy Heat Press and press design
Click the power button to turn on your HTVRONT Easy Heat Press and set the right time and temp. I set it to the recommended settings for a 100% cotton base at 300℉ for 15s. The settings can be slightly different if your item is not cotton, so definitely make sure your settings are appropriate.
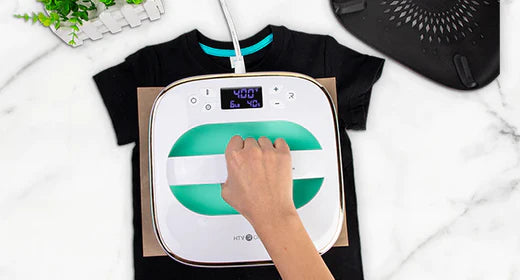
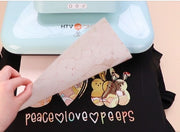
Lay your T-shirt on the heat press mat. Once the light turns green, pre-heat it for about 10 seconds to take the wrinkles out quickly. Then place your design carefully on the T-shirt and cover a Teflon sheet on it. Put the HTVRONT Easy Heat Press down and click the R symbol to start the timer. With the HTVRONT Easy Heat Press, you no longer have to watch a clock or count in your head.
Remember not to move the machine around as you would when ironing clothes. Otherwise the design will be a mess.
Step 3: Peel the backing off
After the timer beeps, return the HTVRONT Easy Heat Press to its safety base. It will automatically shut down if you do nothing within 15 minutes.
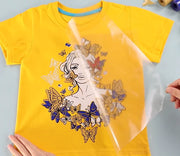
Allow your project to cool, and remove the backing!
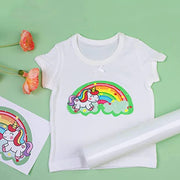
Now, it’s down! Enjoy your finished project freely!
Please communicate with me in the comment area if you have more good ideas. I hope you enjoyed learning about it!























































![[Starter Kit] Auto Heat Press Machine 15" x 15" 110V + Starter Kit Bundle](http://www.htvront.com/cdn/shop/files/20240425-170634_385x.jpg?v=1714036345)
![[Premium Bundle] Auto Heat Press Machine 15" x 15" 110V + 20 rolls HTV Bundle 12“x3ft + Mini 2 Heat Press Machine + Random Sublimation & HTV Bundle ≥ $180](http://www.htvront.com/cdn/shop/files/1UK_4_22c12b1b-12dd-4105-ac25-93e2faae6a8c_385x.jpg?v=1713863580)
