


In this review, we are going to discuss everything there is about HTVRONT Hat Heat Press. You will get a full breakdown of this new hat heat press and whether we think it's worth your money or not. We will list this machine's specs and features as well as answer questions like what it can do and how to use it. Of course, this review is written after test trials on multiple DIY hats, including baseball caps, beach hats, visors, and so on.
Part 1: What Is HTVRONT Hat Heat Press?
Unleash Your Creativity with HTVRONT Hat Heat Press
- A brand-new portable heat press exclusive to various hats.
- Intuitive display screen to monitor the ironing process.
- Customized design with the flexible temp and time settings.
Specifications:
- Price: $69.99
- Size: 20.6*16.5*16.0cm
- Heat plate size: 5.5*2.4 inch / 15.3*6cm
- Temperature range: 210-390℉/ 100-200℃
- Auto-off: after 15 min of no operation
- Pressure: manual press
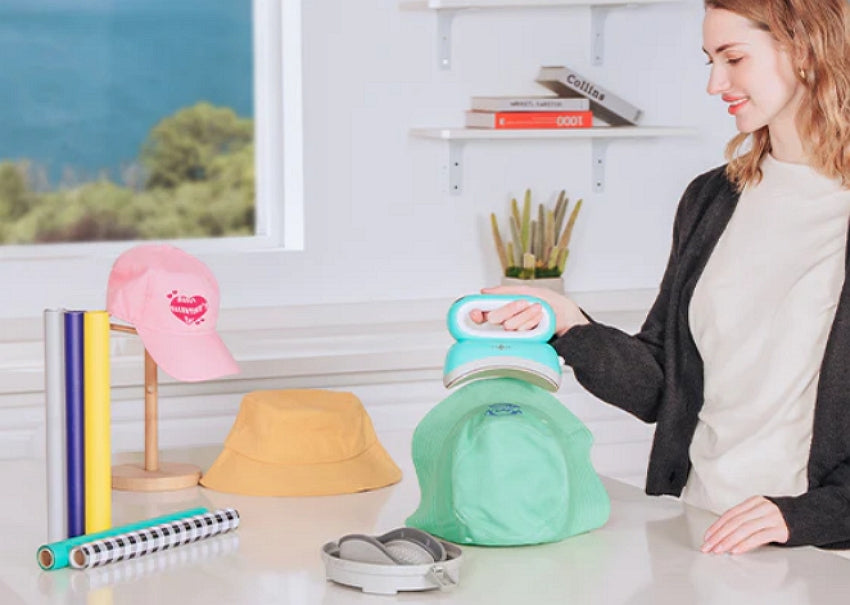
HTVRONT Hat Heat Press is the closest competitor to the famous Cricut Hat Press and other compact hat heat presses. This relatively new hat heat press machine brings everything to the table you'll find from the Cricut option and even more.
For example, the HTVRONT Hat Heat Press is available in multiple sizes, giving you more flexibility with hat heat press projects. Durability is also not an issue, thanks to the sleek ceramic coating and aluminum plate. Moreover, it's a comfortable and lightweight machine that weighs just over 2kg. You'll enjoy all the benefits at a modest price of $69.99, almost half what you'll pay for the Cricut Heat Press.
As expected, this machine has a curved plate that allows seamless transfer of designs to any hat. It can transfer various material designs, including sublimation paper, heat transfer vinyl, puff heat transfer vinyl, and more. The hat-pressing lid fits nicely with kid's hats, baseball caps, bucket hats, visors, you name them.
Key features:
- Intuitive display screen: The digital screen displays the temperature and time countdown. This allows you to use the exact time and temp settings and prevent accidental burns.
- Adjustable heat settings: Using heat settings that are too low or too high can lead to uneven designs. This baseball hat heat press lets you prevent that with its flexible time and temperature settings.
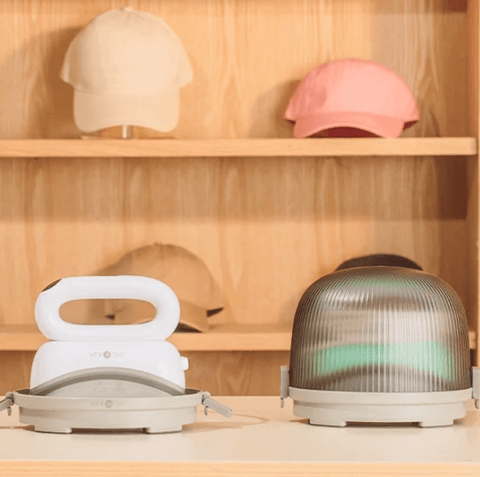
- Fast and even heat transfer: The heat plate is made of cast aluminum for fast heat transfer while ensuring safety. This machine's curved design also delivers uniform edge-to-edge temperature for the most professional-looking designs.
Part 2: How Does HTVRONT Hat Heat Press Work?
Now, let's get to the practical part of this HTVRONT Hat Heat Press review. We used this cap hat heat press to DIY a cotton baseball cap with a Christmas design just before the festive season last year. The results were commendable, as you'll see later in this step-by-step guide on this hat heat press tutorial:
Step 1. Prepare the needed materials.
First, you need to assemble all the supplies required for this project. If you have a Cricut machine, use it to create a sublimation of HTV design on Cricut Design Space. But because this process can be a bit complex and time-consuming, you can buy a hat heat press design on platforms like Amazon and eBay. Most will cost you around $10.
Below are the needed supplies:
- Red, green, and gold heat transfer vinyl for the Christmas design
- Cutting machine
- Cutting matt
- Weeding tools
- Heat transfer tape
- HTVRONT Hat Heat Press

Step 2. Create and weed your design.
Creating your own design is always best if you want to have unique designs. This is especially true when creating a design for a company logo or a specific occasion.
Designing an image is pretty easy with a program like Cricut Design Space. Upload the SVG design on the editing software, then customize and personalize it with quotes and sketches. There are so many sites that offer free SVG files, including Loklikworkshop.com.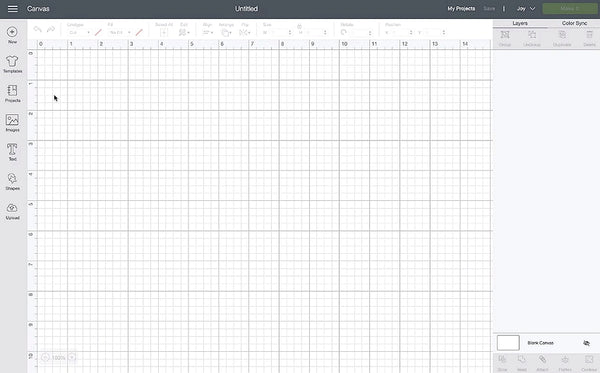
Step 3. Set the hat heat press settings.
You're now ready to start transferring your hat designs after cutting on your vinyl plotter. In that case, grab your cap hat heat press from HTVRONT, and enter the time and temperature settings. Remember that the time and temp settings may vary depending on the materials used.
For example, in this tutorial, we heat press our baseball hat with heat transfer vinyl at 145°C for 20-30 seconds. You can adjust these HTV settings using the +/- buttons. HTVRONT Hat Heat Press supports temperature and time settings of 210-390℉/100-200℃ and 0-600 seconds, respectively.
Step 4. Heat press the design and peel it off.
The first step is to preheat your hat for at least five seconds after firmly fitting it on the heat-pressing lid. Then, carefully position your HTV or sublimation design using a transfer tape. This tape is necessary because it will hold your design in position to allow uniform heat transfer.
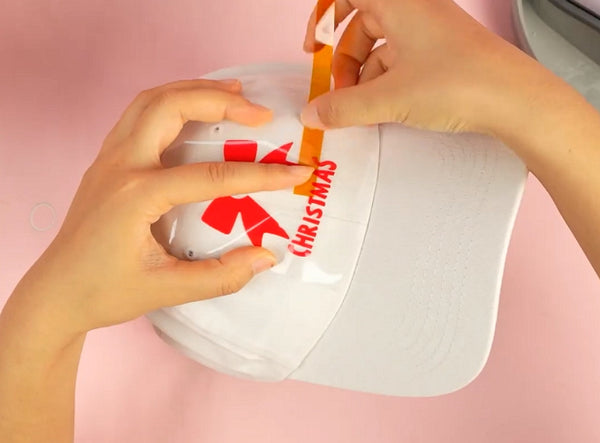
Cover the hat design using a Teflon sheet, then gently press the machine. Gentle back-and-forth movement while transferring the iron-on design should distribute heat evenly. The machine will notify you after the countdown timer. Remove the butcher paper and peel off the transfer tape and carrier sheet from the hat. Ensure the design is cold and everything is stuck before peeling off anything.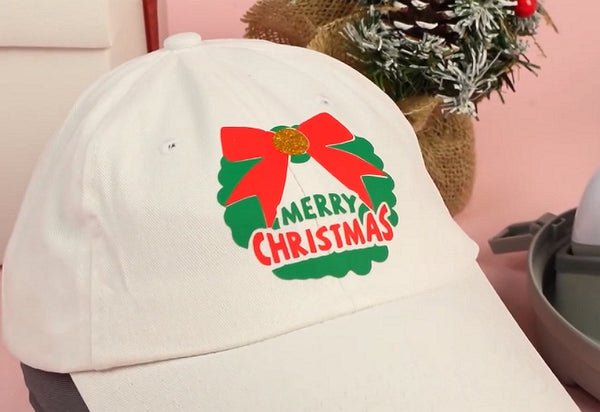
Part 3: FAQs About Using HTVRONT Hat Heat Press
Q1: How can I get a successful hat heat transfer?
You can do several things to avoid burned, uneven, or cracked hat designs. Below are some tips and tricks to use:
- Use the recommended time and temperature settings. For instance, the recommended heat and time settings for 100% cotton/polyester are 293℉/145℃and 15 seconds. You should apply high pressure for the best outcomes.
- Firmly fit the cap on the heat pad to avoid movements. Even the slightest movement can lead to uneven design transfer.
- Press the heat transfer film and the hat firmly together.
- Always use heat-resistant tape to hold your design in place while ironing.
- Wait for the design to cool down before peeling off the carrier sheet and tape.
- Wait for at least 24 hours before ironing or washing the hat design.
Q2: How can I switch between ℉ and ℃ when using HTVRONT Hat Heat Press?
Besides offering adjustable heat settings, the HTVRONT Hat Heat Press lets you switch between temperature units. You can switch to degrees Celsius or Fahrenheit by long-pressing the green "Settings" button for 3 seconds.
Q3: What should I do if the cap doesn't fit the pressing pad when ironing?
Ensure the hat firmly fits the HTVRONT hat pressing pad for an even heat and pressure transfer process. You can ensure this by unbuttoning the hat and adjusting it to the correct size. If this doesn't work, support it and the pressing pad from the inside using a piece of cloth or form. Ironing the hat with the pressing side facing upwards is also recommended.
Q4: How do you fix a loose carrier film when ironing?
To avoid dealing with a loose carrier sheet while ironing, firmly attach it to the fabric and design before pressing. Also, always use a heat-resistant transfer tape to hold the carrier film and HTV design in place while ironing.
The Sum Up
I believe that was an easy DIY on how to use hat heat press machine. This hat heat press works perfectly with all manner of hats, including kid headwear. It delivers excellent results with smooth surfaces, although textured surfaces also provide great results. Time to try it yourself and tell us what you think!


![[Starter Kit] Auto Heat Press Machine 15" x 15" 110V + Starter Kit Bundle](http://www.htvront.com/cdn/shop/files/20240425-170634_385x.jpg?v=1714036345)
![[Premium Bundle] Auto Heat Press Machine 15" x 15" 110V + 20 rolls HTV Bundle 12“x3ft + Mini 2 Heat Press Machine + Random Sublimation & HTV Bundle ≥ $180](http://www.htvront.com/cdn/shop/files/1UK_4_22c12b1b-12dd-4105-ac25-93e2faae6a8c_385x.jpg?v=1713863580)


